If you are short of space and looking up for a unique and creative way to grow plants, try this DIY Upside Down Planter!
Required Material

- Plastic net
- Plastic Lid
- Cement Planter
- Scissor
- Screw Driver
- Screw
- Drill Machine
- Pen
Steps
1. Take a Plastic Container
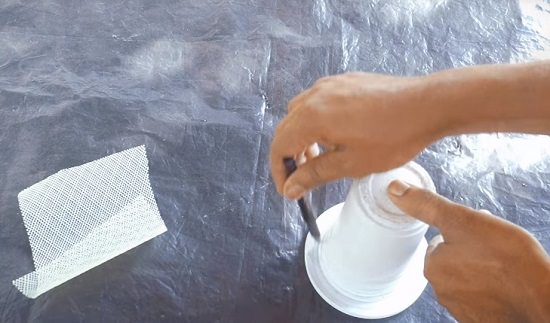
Take a plastic container and outline its top on a plastic lid.
2. Cut Mark
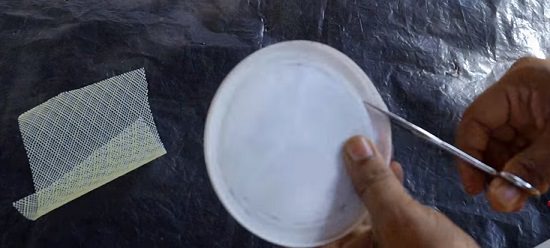
Cut the outline out using a pair of scissors. Further cut a small circle in the middle of the same lid.
3. Cut One Side
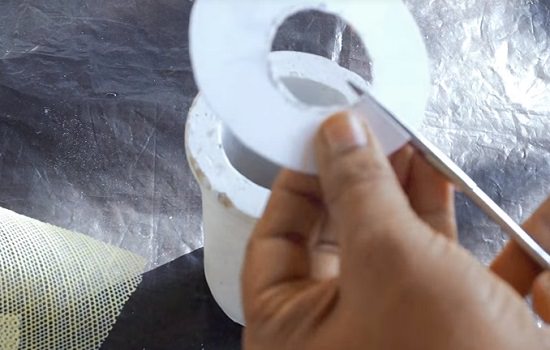
Cut the lid from one side.
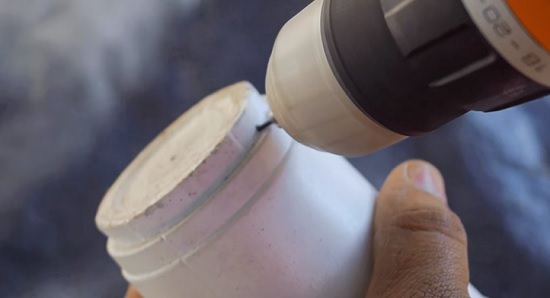
4. Drilling in Planter
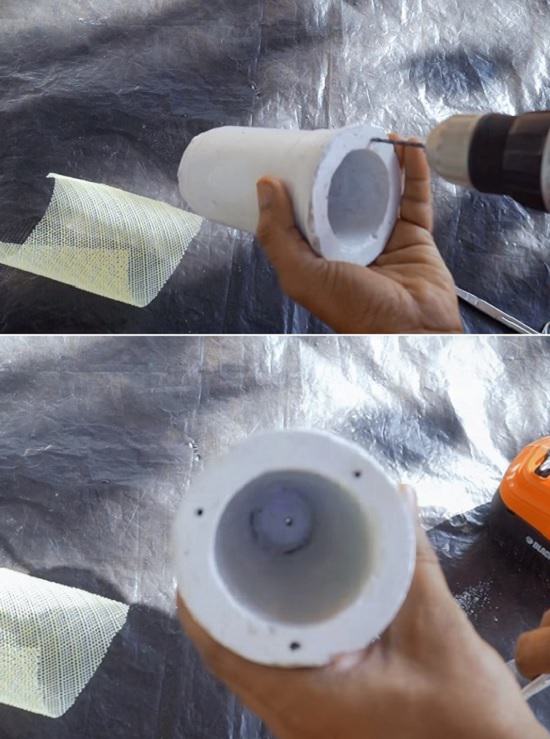
Use a drill machine to make 3 holes into the plastic container as in the image above.
5. Holes on the sides in bottom
Use a drill machine to make two holes on the sides in the very bottom of the container.
6. Wire
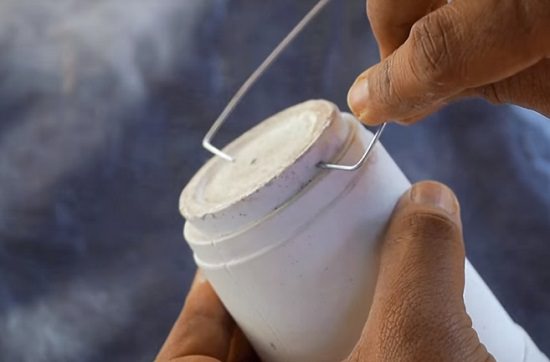
Insert wire on the two side holes at the bottom. This will serve as a medium to hang your sky planter.
7. Drill in Bottom
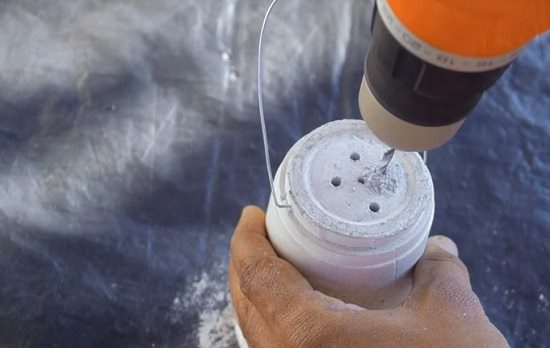
Make holes at the bottom of the container as shown in the image above.
8. Planting
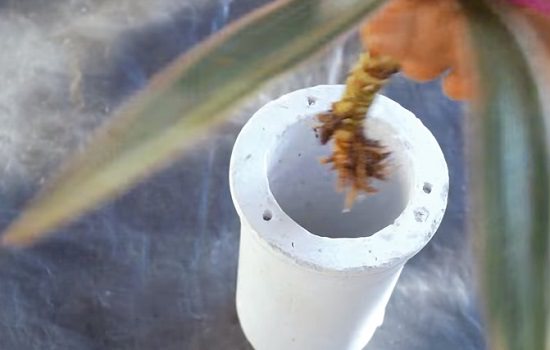
Choose your favorite plant and plant it inside the container.
9. Add Some Soil
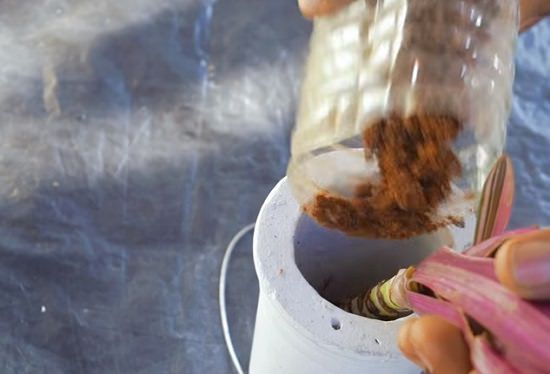
Finally, with your planting experience, choose the right soil type for the plant and fill the container till full capacity of the container.
10. Plastic Net
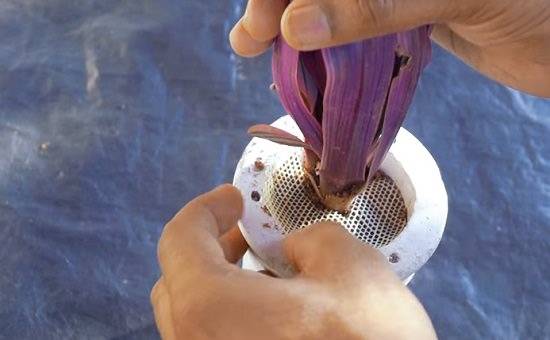
Cut a plastic net of the size a bit more in radius than the inner circle of the container lid. Cut the net in the middle so that it the plant can fit it.
11. Fix the Lid
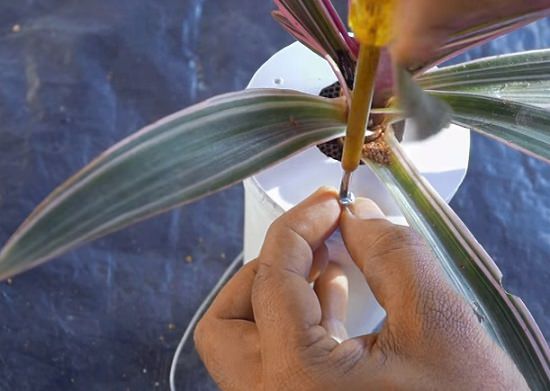
Fix the lid to the container using some screws and screwdriver, of course.
12. Ready!
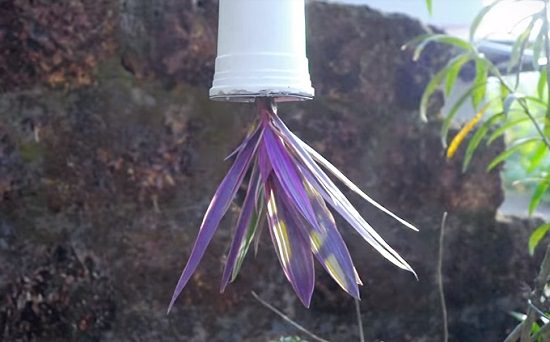
Your sky-planter is ready. Hang it somewhere you can reach each for care and enjoy the glance of it every time you see it.